Saturday, December 10, 2005
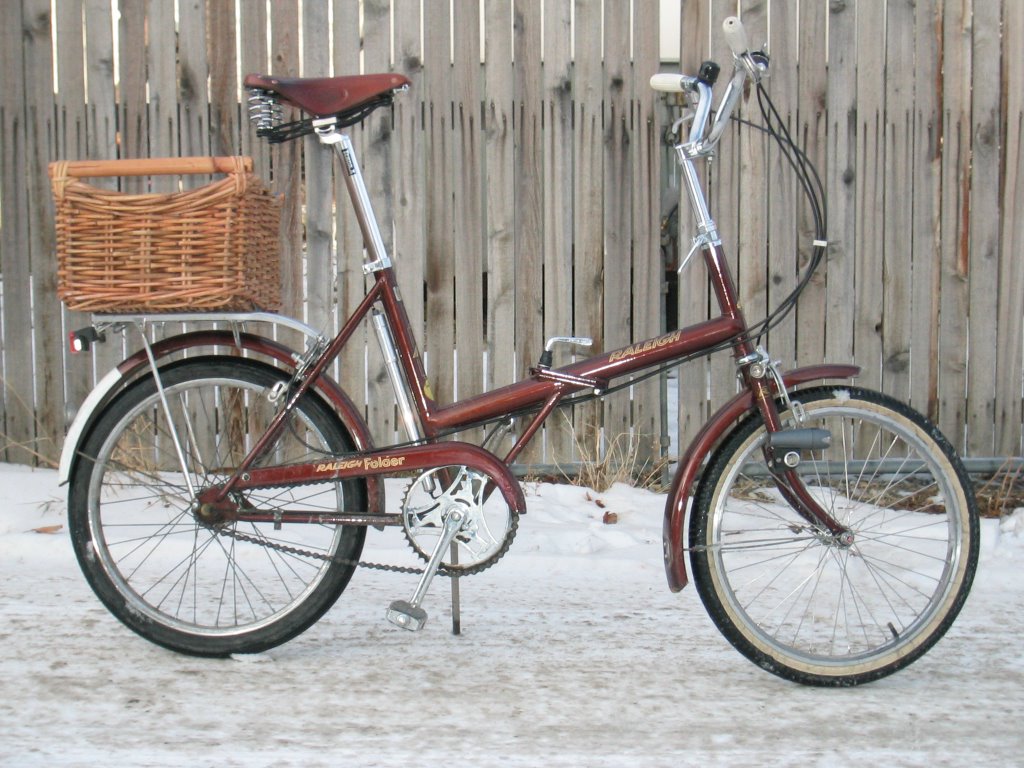
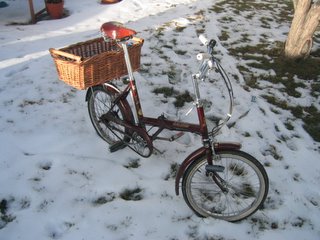
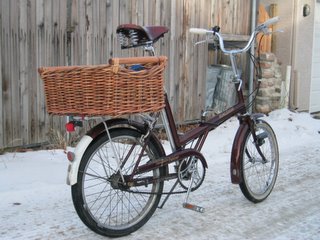
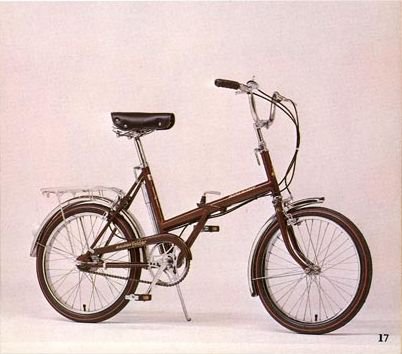
Not a lot to update. But I did get some pics of the folder today. It is still looking very stock.
What's been done? New front wheel, new seatpost, new saddle, giant basket on the rear rack, fork mount headlight, rear blinkie mounted to the rack.
Here are a few photos.
I'm currently holding my breath until the arrival of an aluminum body Sturmey Archer 3 speed hub. It should be lighter than the steel body hub that's on there now. Silly, I know.
Stay tuned.
Friday, November 18, 2005
Time for the next big change on the Folder.
A ways back I ordered some Sun Rhyno Lite rims from my local bicycle shop (lbs) Bow Cycle. The folks there are pretty tolerant of my project bicycles even if they shake their heads as I tell them what I want them to order. They don't usually have the parts I'm looking for in stock .
In this case I had originally requested two Sun CR18s in 20 inch with a 36 hole drilling. It wasn't long before I got a phone call telling me that those rims were not available in 36 holes. Plan B. Sun Rhyno Lite.

They arrived a few days ago and I was able to pick them up this afternoon. More tens of grams saved. The original front wheel on the highly inaccurate kitchen scale came out to 1080 grams (hub, rim, spokes, nipples). The new wheel was laced up this evening and it comes to a total of 770 grams. This is a 310 gram weight savings. Not a huge amount, but nothing to sneeze at either.
I find it interesting to note that the weight savings for the rim is around 340 g (720 v 380 g). But I was weighing a different rim than I laced on to the front hub so there could be 30 g difference in the two Sun rims. Or perhaps the new spokes are heavier than the old. Or the new nipples. Of course, the inaccurate kitchen scale could have something to do with it as well.
As well as the weight savings I will definitely see an improvement in braking performance with the aluminum rims. I actually ordered the rims the day after I had to commute home in snow flurries. While the snow wasn't heavy enough to soak through my jacket it did manage to coat my rims with water. I don't think I actually blew through any stop signs, but there were times when I applied the brakes and nothing happened for a second or two. Not a good feeling.
Here's a link to an interesting Raleigh 20 by fellow Canadian Guy Bouchard. This is a good example of what you can do and how far you can go with a Raleigh 20. http://www.guybouchard.ca/twenty.htm
Thursday, November 03, 2005
Raleigh Folder blog.
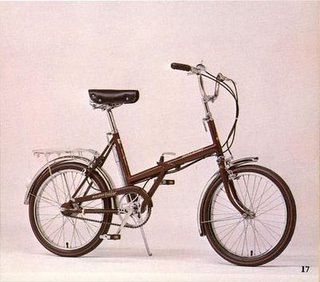
What's a Raleigh Folder? A pretty cool, old Raleigh folding bike (duh!) with 20 inch wheels and the handling characteristics of an English three speed. It's also known as a Raleigh 20. For an in depth look at this bike you can check out the source for all things bicycle Sheldon Brown. Specifically http://www.sheldonbrown.com/raleigh-twenty.html
Why upgrade? Why not? Can't leave well enough alone? I have a burning desire to spend money on bikes and parts? I don't know. But I do have two goals for this upgrade process. Both questionable.
Goal one: Save weight. Now I know all you practical cyclists just blew milk out of your nose. But hey I've got to lift this boat anchor of a bike up a flight of stairs every day. Maybe I can shave two pounds off of that and shave seconds, seconds I tell you, off of my climb up Home Road.
Goal two: Increase performance. No, not my performance in races. But I will be able to stop the bike in the rain if I replace the steel rims and the thirty year old brake pads. You know, stuff like that.
I started out with a bone stock Raleigh Folder bought for $50. Oh yeah, that's another reason/justifacation for the upgrades. Most of these bikes sell for a lot more than that. And by the time the new owners finish their upgrades they could have bought a new folder such as a Swift or a Brompton for the same amount of money. I figure I'll stay below that level since I started so low. And, I have a lot of the parts I need in the basement already.
I wish I started this blog since the beggining of my ownership of the bike since I have started upgrading already. Pretty basic so far. I've replaced the steel seatpost for a longer aluminum one with an integrated clamp. The orginal steel one was too short and (I'm guessing here) heavier than the new one.
Mod two was the replacement of the Brooks mattress saddle with a leather Brooks B66 Champion. Stylish, comfy, and perhaps tens of grams lighter than the original. Of course, to get the double railed saddle to work with the modern seatpost I had to use a Seat Sandwich, a grooved piece of aluminum that allows the clamp mechanism to work properly with the saddle.
So, the bike is still looking pretty stock but I've made it more comfortable to ride, and a little lighter to boot. So far so good. Watch out for more.
Pics soon.
![]()
